Every outdoor surface needs to drain, support weight, and last through weather cycles. A proper permeable paver installation manages all three by combining strength with open-cell design that filters water directly through the surface. TRUEGRID systems make the process straightforward for both homeowners and contractors, the way a well-planned job should be.
Why Permeable Paving Matters
Permeable paving isn’t just a construction trend, it’s an environmentally responsible solution that improves drainage, minimizes stormwater runoff, and reduces erosion. Instead of forcing water across a hard surface and into storm drains, permeable systems allow rainfall to filter downward through aggregate layers and back into the soil.
This natural infiltration helps:
- Recharge groundwater
- Reduce flooding risk
- Filter pollutants before they reach waterways
- Support long-term landscape health
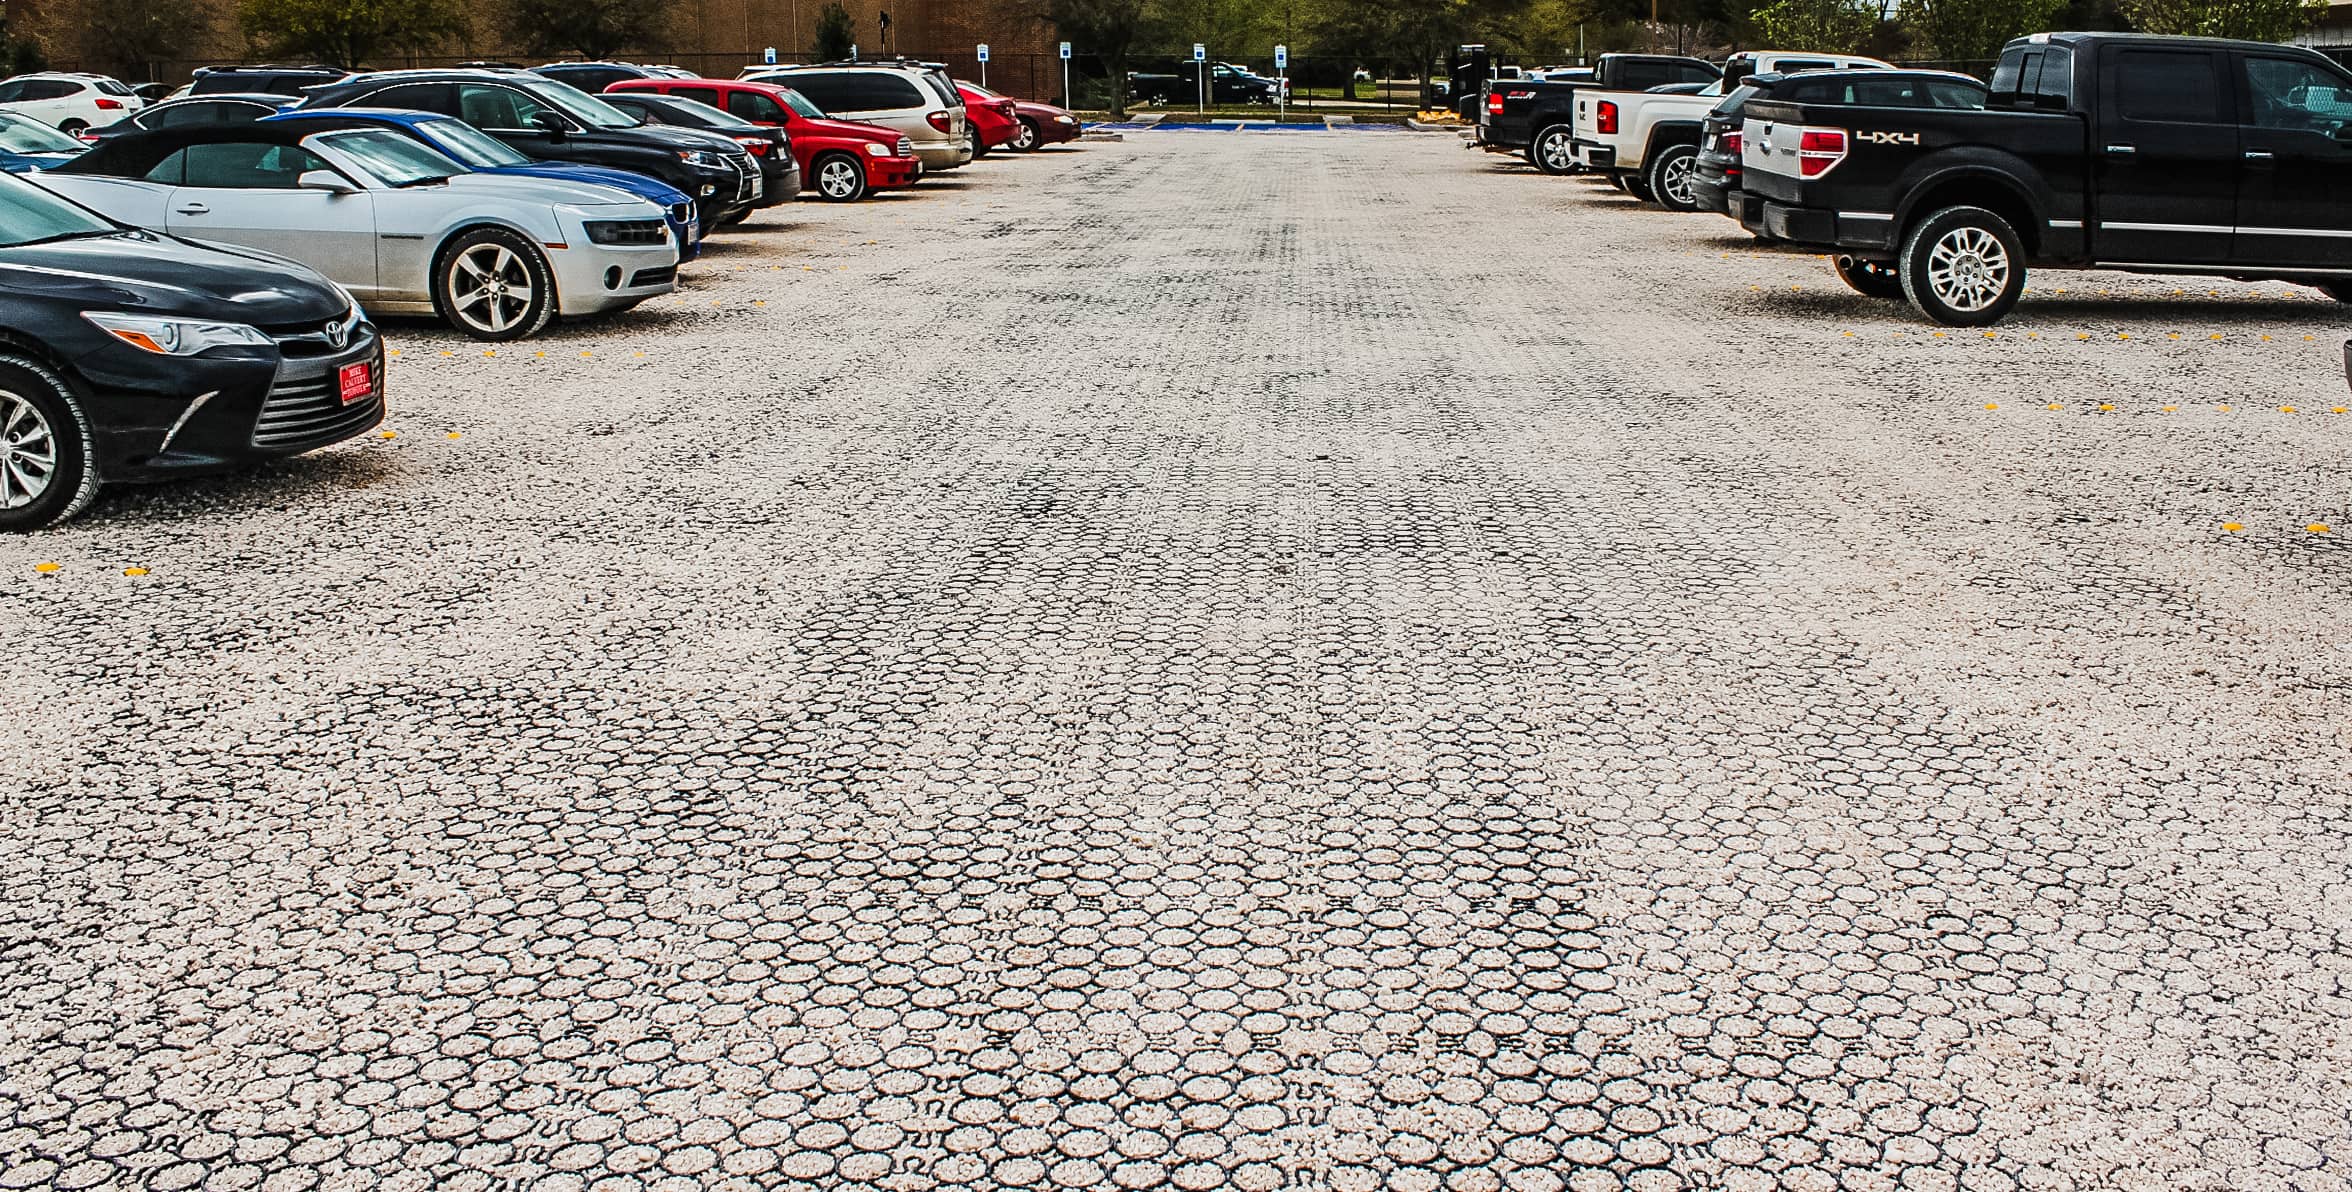
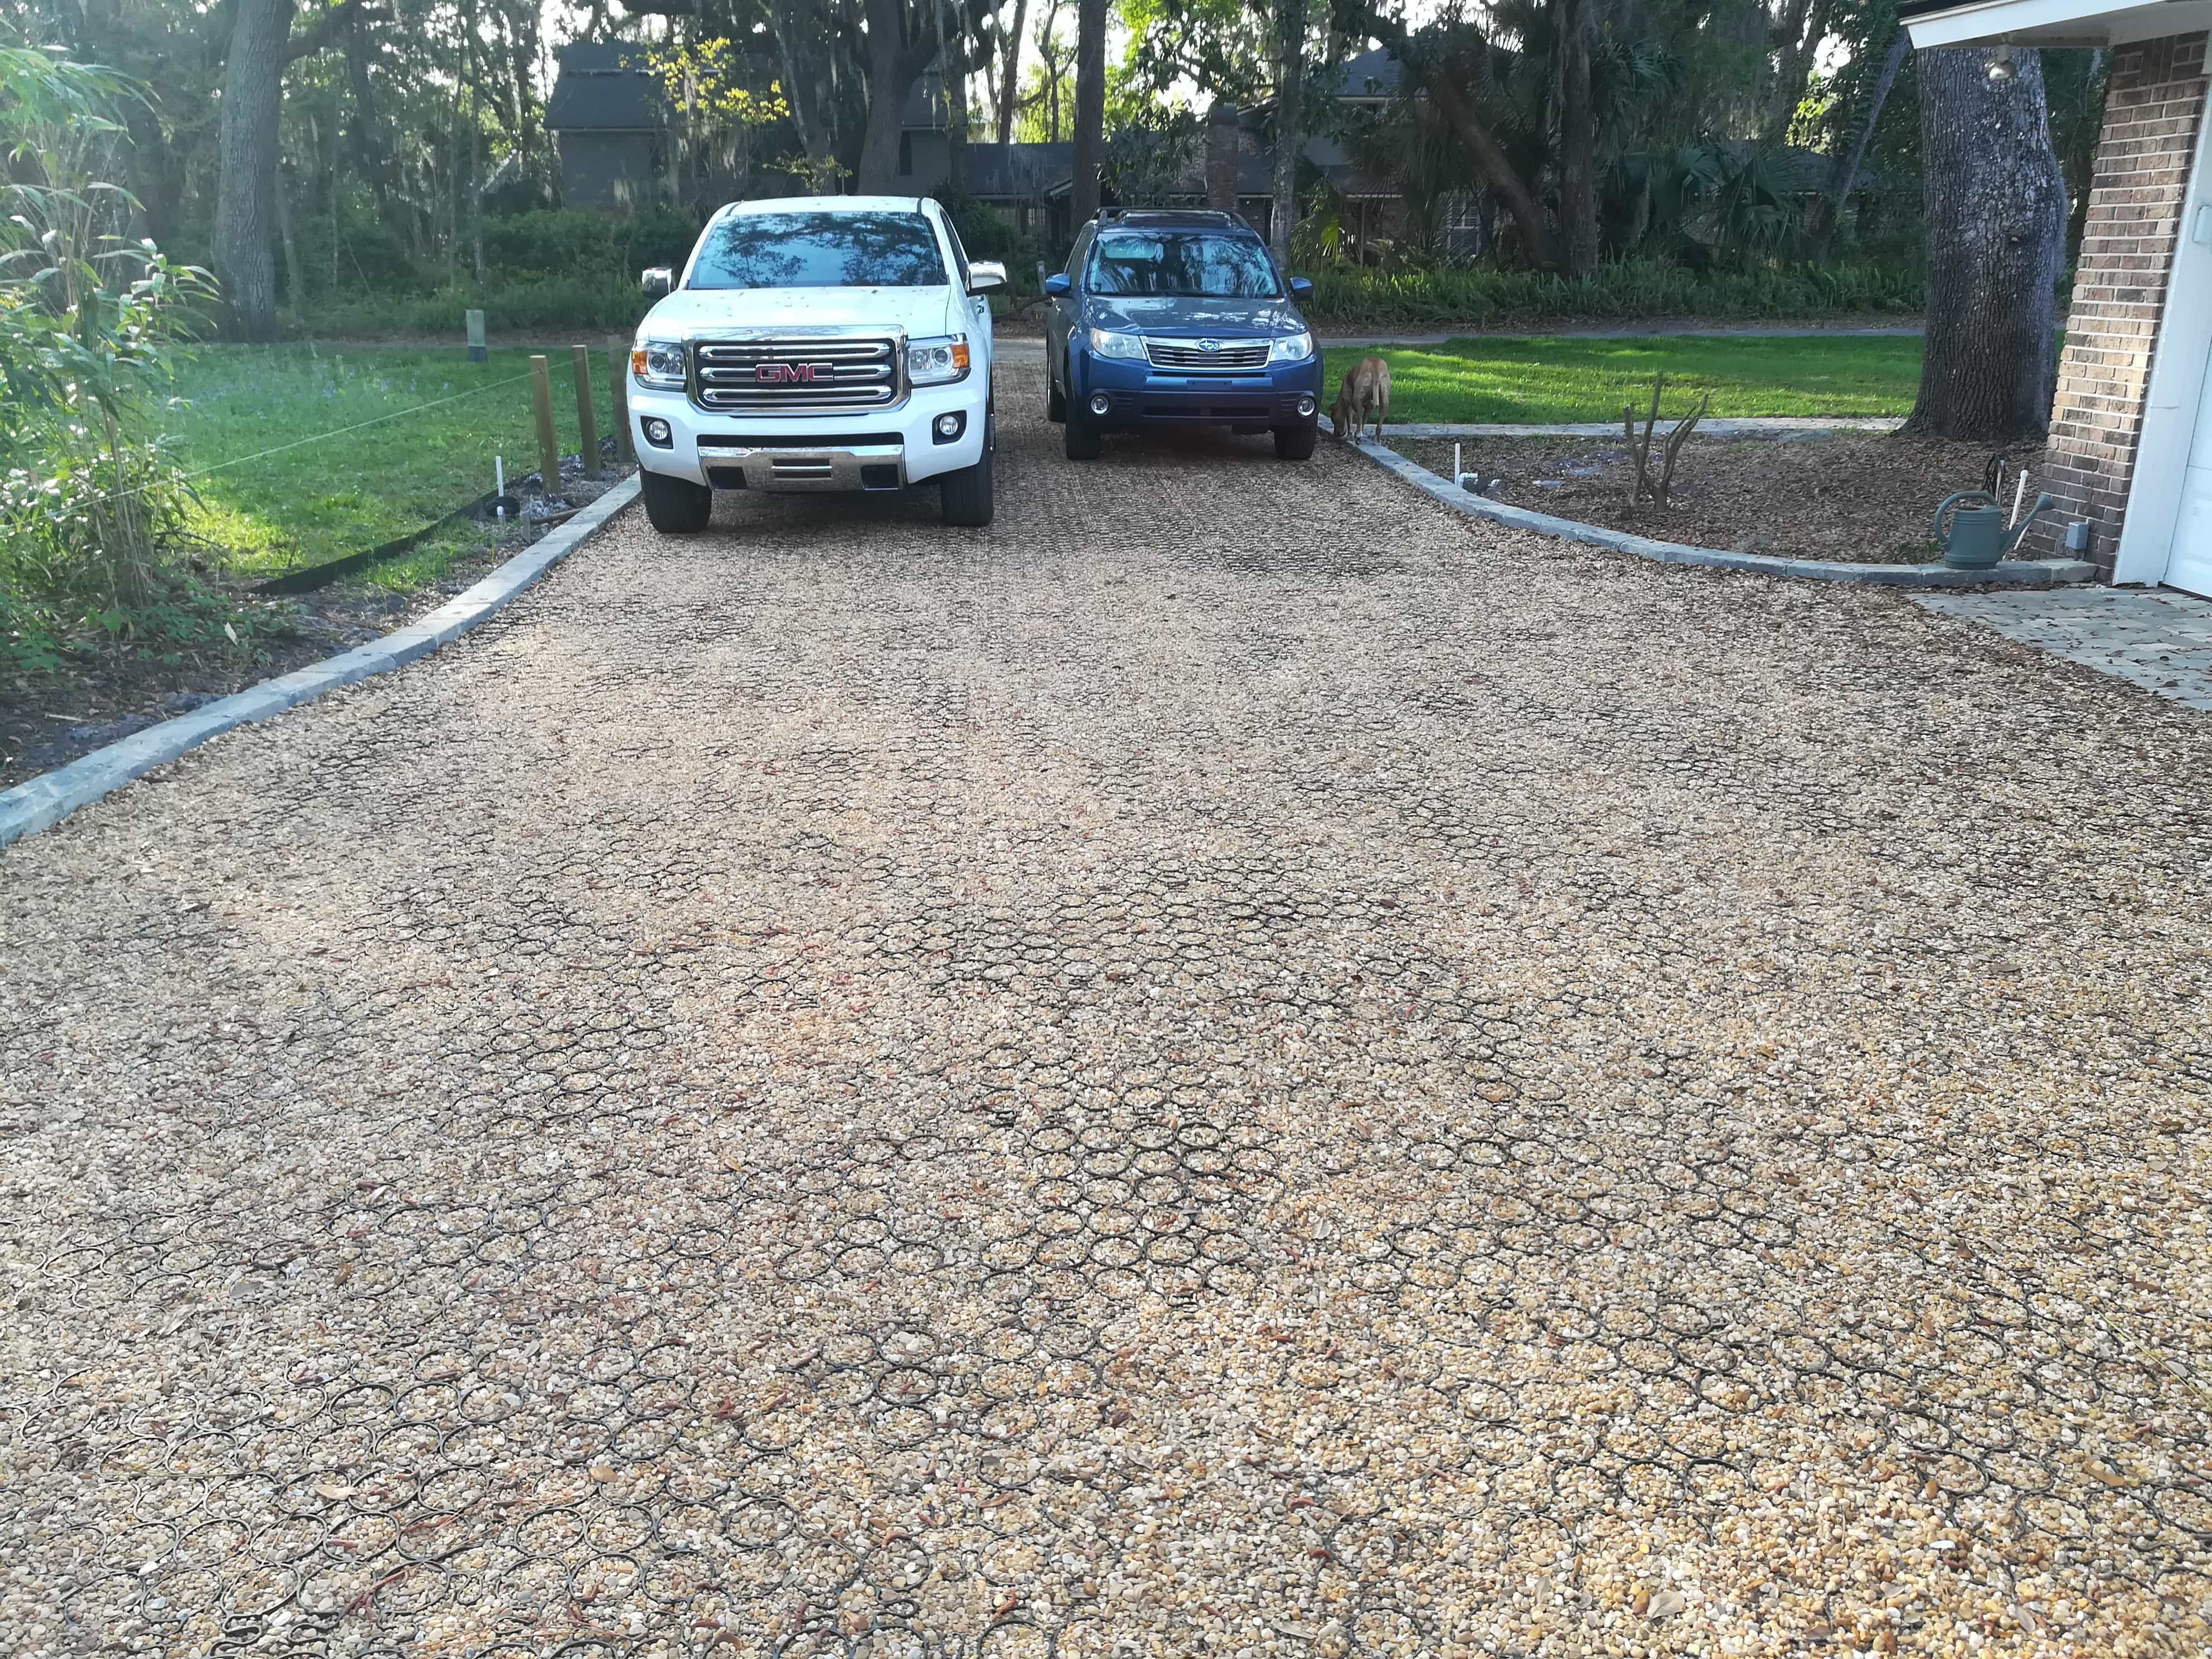
Because these systems handle both load and drainage, they work well for driveways, walkways, patios, parking areas, and more, all while maintaining a clean, stable surface that lasts for decades.
Before You Begin: Tools, Materials & Resources
Before you start your permeable paving project, it’s important to gather the right tools and materials. Having everything ready will make the installation go smoothly and help your driveway or patio last for years.
Permeable Pavers
Choose the type of TRUEGRID pavers that best fits your project. PRO LITE works well for lighter residential use, while PRO PLUS is better for heavier loads or vehicles and on sloped driveways..
Aggregates (Gravel Layers)
You typically need two types of gravel for a proper install:
- Coarse gravel (sharp drain rock) for most base layers or, compactable gravel as the base layer on slopes and when high amounts of drainage is not needed
- Stone infill for filling the pavers and adding your desired look
Geotextile Fabric
This fabric sits between the soil and the base gravel to keep the layers from mixing. It helps your system stay stable and drain properly over time.
Edge Restraints
These keep the pavers in place and help the finished area maintain its shape..
Basic Tools
Gather simple tools like a shovel, rake, rubber mallet, level, and a string line. You’ll also need a compactor to prepare the soil and gravel layers. You may want to consider renting mechanical and power equipment (like small excavators) for larger projects.
Helpful Resources
Use installation guides, the TRUEGRID Calculator Tool, and your local city or county guidelines to make sure you’re meeting any requirements. If you’re unsure about any step, talking with a professional can give you extra confidence before you begin.
How Permeable Pavers Work and What to Know Before Installation
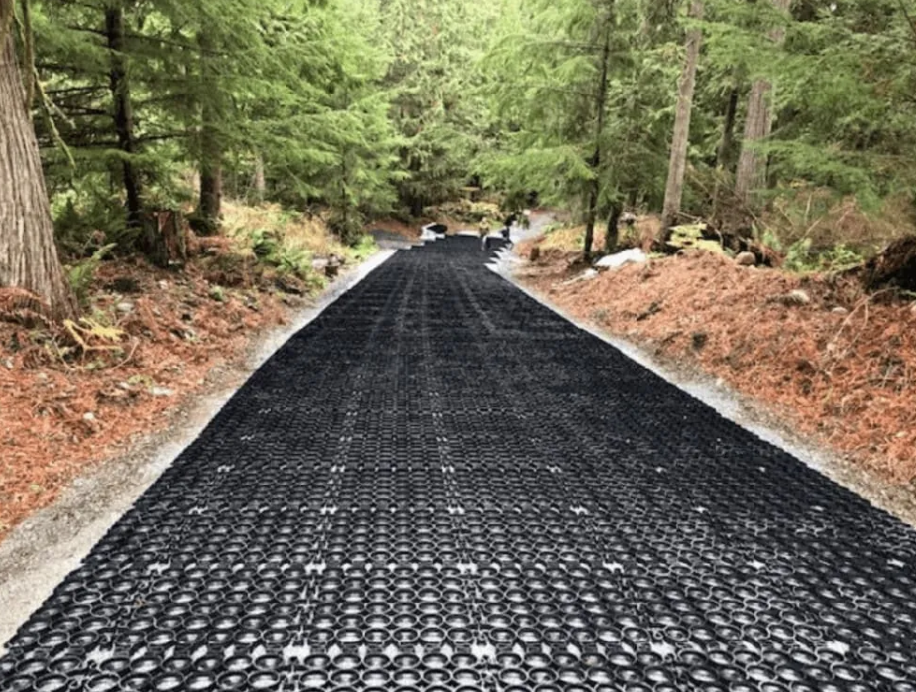
Permeable pavers create a stable surface that still allows rainwater to pass through. Instead of sending runoff toward drains, the grid and base layers filter water into the soil below, recharging groundwater and reducing erosion. Each layer serves a purpose: the surface grid spreads weight, the sub-base stores water and supports, and the soil absorbs and releases it gradually.
When designed and installed correctly, the system lasts for decades, reducing maintenance costs and stormwater impact while keeping driveways, patios, and walkways firm underfoot.
Step 1: Plan Your Permeable Paver Installation
Every installation starts with the site. Check grades, utilities, and intended use, whether a walkway, patio, or full vehicle driveway. Note the position of the permeable system to building foundations and other areas where you may not want water to flow. Use grading techniques and check for waterproofing on foundations, add when needed.
Loam or sand requires less excavation than heavy clay, but all projects need stable subgrade before gravel placement. Mark boundaries, measure square footage, and estimate materials using the TRUEGRID Calculator Tool to simplify ordering and cost planning. A well-planned permeable paver installation saves rework later and improves long-term drainage efficiency.
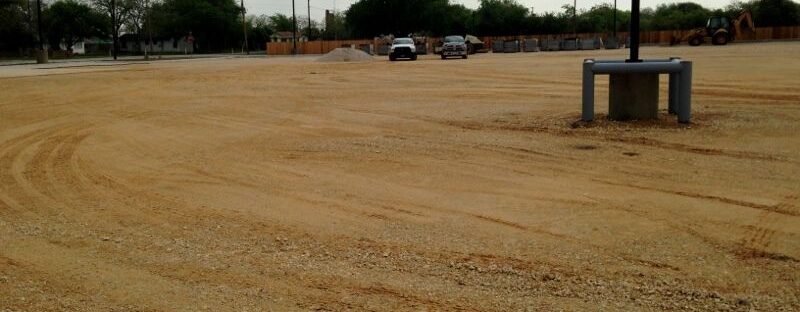
Step 2: Excavate and Prepare the Base
Excavation depths vary depending on soil and expected loads. Walkways or patios often require 0-5 inches, while driveways and parking areas may need 5-10 inches for structural strength. Of course, your soil type and project may vary and need more base. Strip away topsoil and organic matter first, then compact the subgrade until it won’t budge underfoot.
A geotextile fabric separates native soil from the base stone, preventing fine migration that leads to settlement. During installation, this separation is key, it preserves infiltration and keeps layers stable under repeated loading.
Step 3: Install the Base Layer
Once excavation is complete and the fabric is placed, spread coarse (¾” to 1.5”, depending on the product used) crushed stone for the structural base. Compact in lifts no thicker than 4 inches for uniform density. Please consult with a design expert for other base composition uses, such as a compactable base.
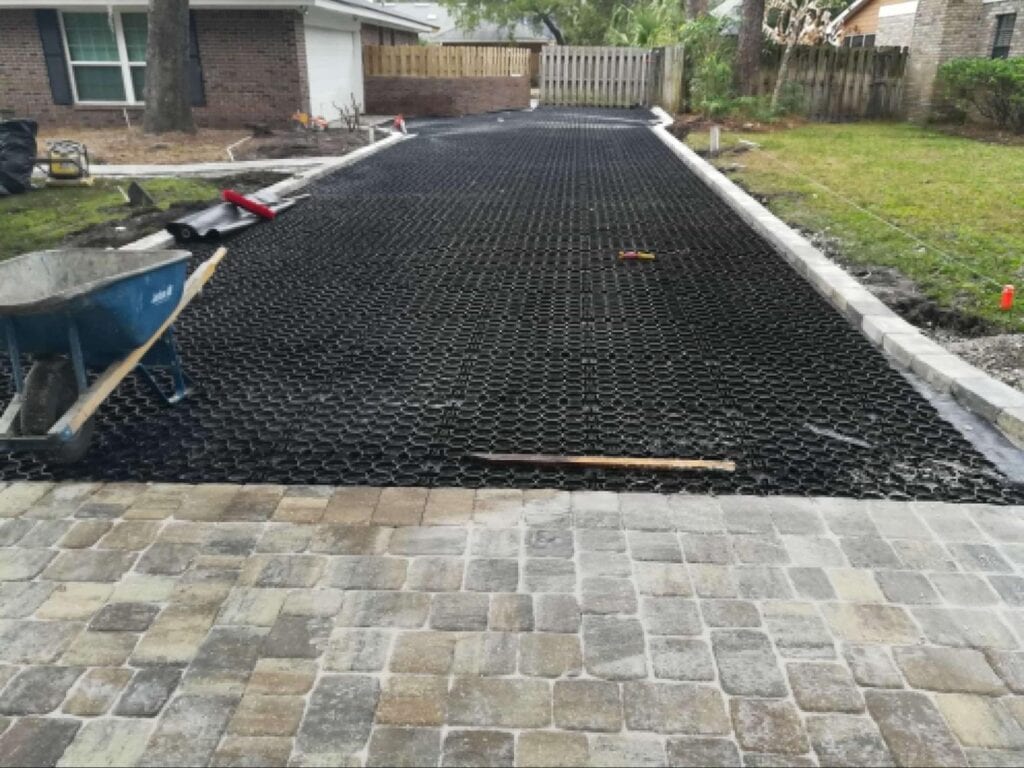
Step 4: Place TRUEGRID PRO LITE or PRO PLUS Pavers
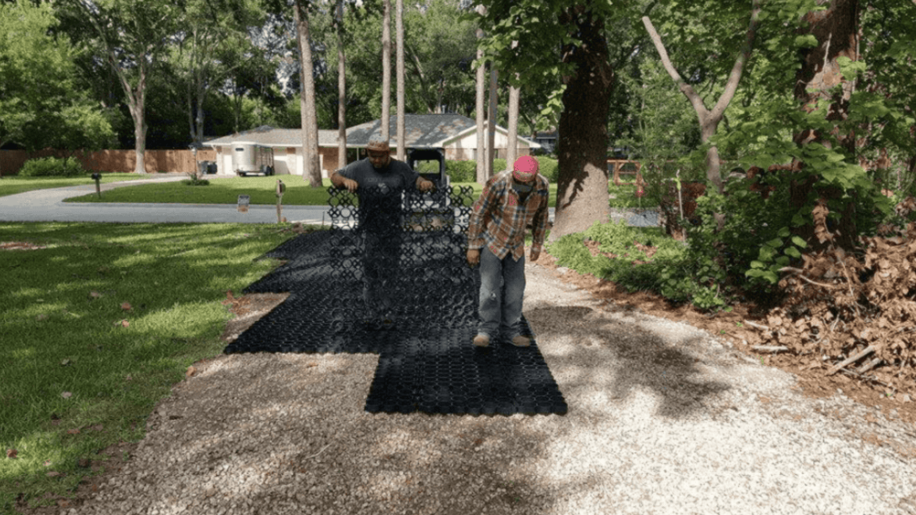
With the base compacted and leveled, it’s time to install the paver grids that give the system its strength. Both TRUEGRID PRO LITE and PRO PLUS assemble the same way, but each is engineered for a specific load range.
Installing TRUEGRID PRO LITE
Start along a straight edge or snapped string line, just like setting tile, to keep rows true.
TRUEGRID PRO LITE panels may arrive pre-connected in two-by-two-foot sections that snap together quickly without specialized tools. Each unit locks into its neighbor with built-in tabs, forming a continuous grid that distributes load evenly for light-duty applications such as residential driveways.
Installing TRUEGRID PRO PLUS
For heavier loading and on sloped driveways, TRUEGRID PRO PLUS provides the added strength and axle-load capacity needed for long-term commercial performance. Panels connect using the same interlocking tabs and can be cut with a circular or reciprocating saw where curves or borders require precise fit.
Note: Staking or anchoring the TRUEGRID is recommended when sloped projects exceed a certain percentage. Please consult with TRUEGIRD or a design expert.
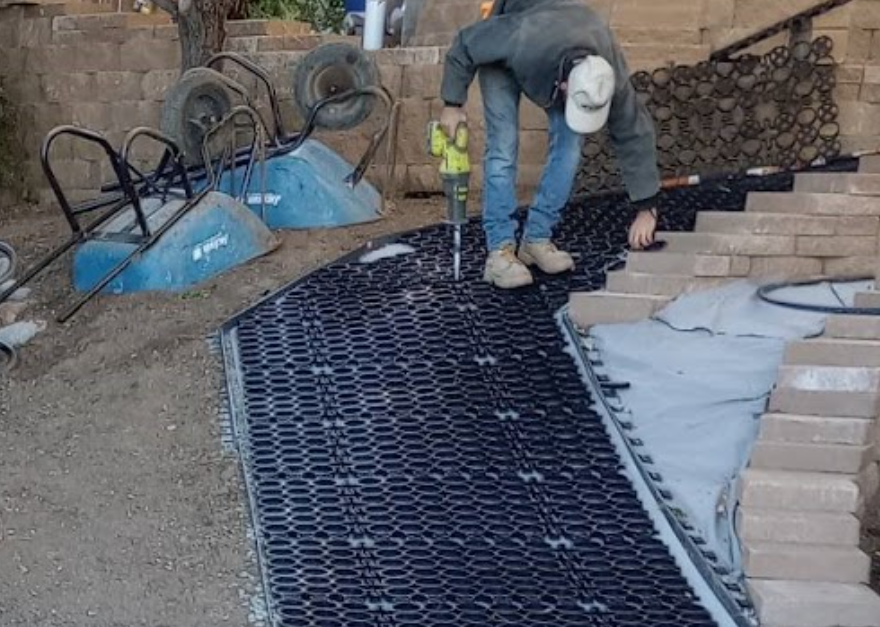
Step 5: Fill the Cells and Finish the Edges
After the grid is in place, fill each cell with angular aggregate such as ⅝-inch clean stone. Rounded gravel tends to roll, while crushed rock interlocks under pressure. Clean, angular stone should be self-aligning and fill level to the top of the grid. Compaction with a plate compactor or rolling compactor is optional and generally not needed.
Add edge restraints, metal, plastic, or concrete, to prevent lateral movement. These details protect the geometry of every installation, keeping the surface aligned through freeze-thaw and vehicle turning forces. Once the fill settles, step back and check slope and uniformity before final compaction.
Step 6: Check Drainage and Perform Maintenance
Unlike concrete or asphalt, a permeable paver surface eliminates standing water by channeling rainfall directly through the base layer. The clean aggregate provides temporary storage and slow release into the subsoil, reducing runoff, flooding, and erosion.
This structure also filters pollutants, oils, sediments, and heavy metals, before they reach groundwater.
Periodic maintenance is simple: remove surface debris. Although rare, you may need to inspect low infill spots and add more stone. Also rare, check and treat for weeds or undesired vegetation – environmentally friendly removal is recommended.
Where local codes require verification, follow ASTM C1781 testing procedures to confirm infiltration performance over time. With routine care, TRUEGRID systems perform for decades without cracking or ponding.
Step 7: Review and Compact the Final Surface
Before wrapping up, verify slope and edge integrity. Walk the surface and confirm that no panels have shifted and all stone sits level with the grid.
This final step locks the aggregate into place, ensuring your permeable paver installation supports traffic immediately while maintaining full drainage capacity.
DIY Tips for Installing Permeable Pavers
Many homeowners tackle installing permeable pavers themselves over a weekend. The key is steady compaction and accurate alignment. Work in manageable sections, keep panels square, and check slope periodically. A hand tamper works for small patios; larger driveways benefit from a rented plate or rolling compactor.
Use clean, washed aggregate, no fines or sand, to preserve infiltration. Always verify slope with a straightedge and level. Following the same sequence used by professionals ensures that DIY permeable paver installation projects achieve the same durability and drainage performance.
Comparing Permeable and Traditional Paving
A short comparison helps clarify value. Asphalt and concrete shed water into storm drains, increasing runoff and heat retention. Gravel alone migrates and ruts without confinement and will need repeated gravel surface placement over time.
A modern gravel grid installation using TRUEGRID combines the permeability of gravel with the stability of pavement. The grid’s open-cell structure holds aggregate in place while maintaining natural infiltration, meeting stormwater codes and reducing long-term maintenance costs. Professional permeable paver installation delivers the same stable finish as traditional paving, without the runoff problems.
Finish Your Project with TRUEGRID Permeable Pavers That Perform
TRUEGRID provides design and planning support for every project size. The product line and resources make installation predictable, strong, and environmentally sound from start to finish. Both PRO LITE and PRO PLUS systems deliver long-term strength with full infiltration and minimal upkeep. Contact us today for more information.