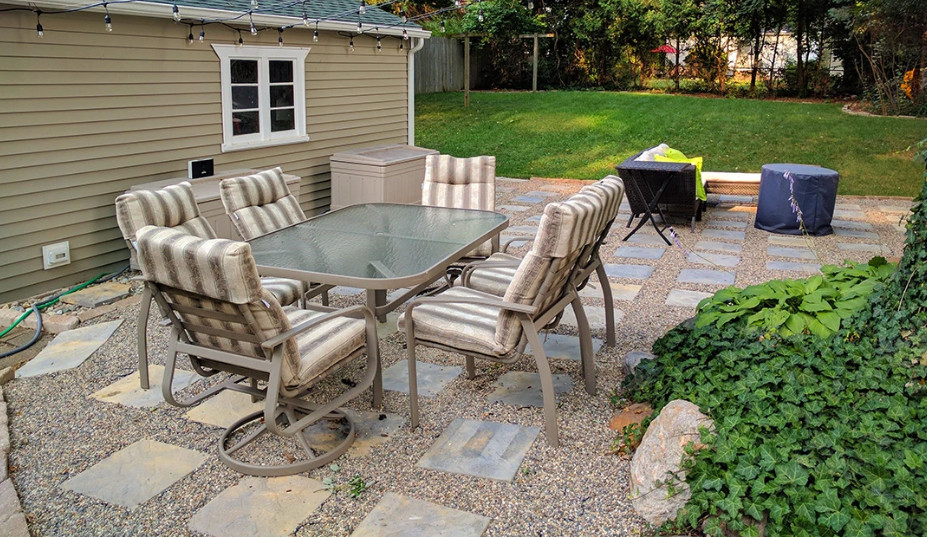
 Installing a paver patio is one of the most rewarding upgrades a homeowner or contractor can make to an outdoor space. When done correctly, it creates a durable surface that supports foot traffic, resists shifting, and maintains visual appeal over the long term. These paver patio installation tips can help guide a better outcome from the ground up.
Why Proper Paver Patio Installation Matters
Paver patios are long-term investments that impact drainage, stability, and outdoor usability. Skipping foundational steps or using the wrong materials can lead to settling, poor runoff control, or costly repairs within just a few seasons. A properly installed patio not only looks better—it performs better. It resists shifting, supports regular traffic, and holds up against weather cycles without constant maintenance.
1. Choose the Right Type of Paver for Your Application
Before installation begins, select pavers that match your project goals. Concrete pavers are common for their cost and shape variety. Natural stone adds visual texture but requires precise leveling. Some homeowners opt for recycled plastic or composite options that offer lighter weight and better permeability. Each type may affect edge restraint, spacing tolerances, and overall layout flexibility.
Common patterns like running bond or basketweave can influence material needs and labor time, while options like herringbone may cost slightly more due to higher cutting requirements.
2. Start with Slope and Soil Conditions
Prior to excavation, assess how water will flow across and away from the site. Outdoor patios require a slope of about a quarter inch per foot to prevent pooling and damage. The surrounding area should allow water to drain naturally or through structured outlets like swales or drains.
For those just beginning, one of the most overlooked paver patio installation tips is planning for drainage before digging. Once gravel is in place, slope adjustments become much harder to correct.
Always check for underground utilities before digging—calling 811 helps avoid costly and dangerous mistakes.
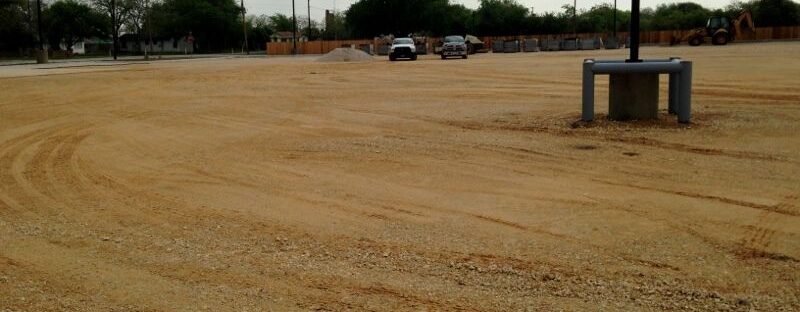
3. Excavate and Compact the Subgrade
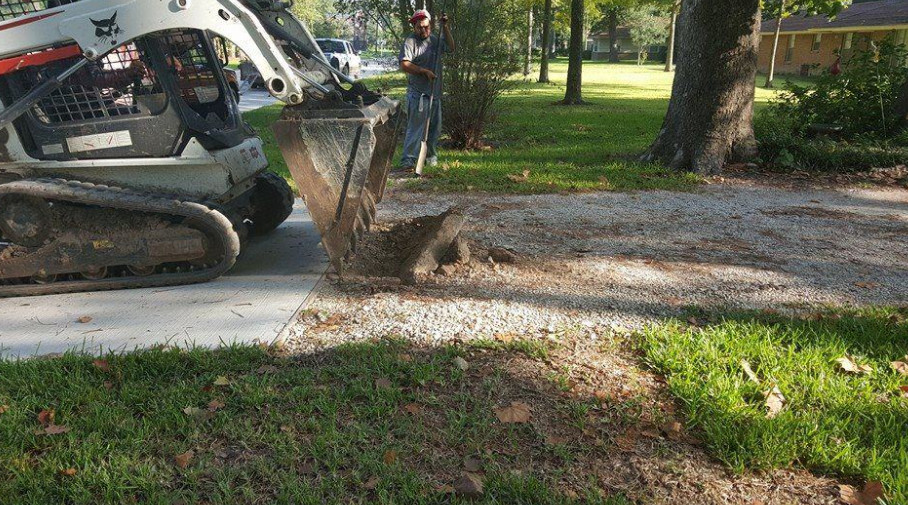
Removing the topsoil prepares the ground for a structurally sound base. Dig 6 to 12 inches deep depending on traffic load, and remove soft or organic material. After excavation, compact the subgrade with a plate compactor to eliminate air pockets and prevent future settling.
4. Build a Stable Base with Crushed Stone
Install a geotextile fabric before the base on the excavated area and up the sides. Then, a multi-layered gravel base forms the foundation for the patio. Add compacted lifts of three-quarter inch minus stone, 2–3 inches at a time. Use a plate compactor between each lift to create a dense, stable surface that resists shifting under pressure.
Among essential paver patio installation tips, proper base compaction is what separates a stable surface from one that sinks or heaves after just one season.
5. Add a Bedding Layer for Leveling
Above the gravel, a one-inch bedding layer of concrete sand supports the pavers. Screed this layer evenly with straight edges or rails to prevent high or low spots. This step shapes the final paver surface but is not compacted before installation.
6. Lay Pavers with Consistent Joint Spacing
Begin laying pavers from a straight edge or corner and follow your planned pattern outward. Maintain even spacing with built-in tabs or manual measurements. Uneven joints can lead to chipping or joint failure during compaction and use.
To improve alignment, check every few rows using a string line or square. Real-time adjustments during installation will help maintain pattern integrity and reduce the chance of gapping later.
7. Secure the Edges to Prevent Movement
Even well-laid patios can shift if the perimeter isn’t anchored. Install edge restraints using plastic, concrete, or metal forms, secured into the compacted base. Without this containment, pavers can migrate over time and compromise the entire installation.
8. Fill and Lock Paver Joints
Paver sand fills the gaps and prevents weed growth or insect intrusion. Sweep sand into joints, compact with a padded plate compactor, and repeat as needed to fully fill voids. Mist lightly with water to activate binding agents, being careful not to overwet.
It’s best to work in sections. Sweep and compact a small area, then inspect for sunken joints before moving on. This prevents underfilled gaps that can destabilize the surface later.
Drainage Planning Beyond the Slope
Correct slope is critical, but drainage upgrades can provide added protection. In high-rainfall zones, consider adding gravel trenches, French drains, or downspout extensions to manage water away from the patio and foundation areas.
Effective drainage is one of the most commonly missed paver patio installation tips, especially in regions with clay-heavy soils or poor runoff absorption. Installing a geotextile fabric between the subgrade and gravel base can prevent soil mixing and improve long-term drainage stability.
Ongoing Maintenance Tips for Longevity
Check for early signs of settling or joint wear. Address these quickly to avoid larger structural problems. Clean the surface with low-pressure water. If the joint sand has eroded or settled between pavers, sweep in new sand to maintain stability and prevent shifting.
Following core paver patio installation tips doesn’t stop at the build—it also includes seasonal upkeep to prevent bigger issues.
Common Mistakes to Avoid During Patio Installation
Even a well-planned patio can fail if key steps are skipped or materials are misused during installation.
Skipping Compaction Between Layers
Each lift of gravel or sand must be compacted before moving on. Skipping this step leads to settling, uneven surfaces, and paver displacement—especially after rain or freeze-thaw cycles.
Improper Slope and Water Trapping
If the patio isn’t angled correctly, water can collect and cause damage over time. Use a level to make sure the surface slopes about ¼ inch for every foot of length, guiding water away from your home and walkways.
Underestimating Edge Restraint Requirements
Anchor the outer edges firmly using deep spikes or concrete curbing—not just the bedding layer.
Explore Simplified Alternatives for Drainage and Durability
Some systems reduce labor requirements. Others move water more efficiently while still supporting best-practice paver patio installation tips for lasting performance.
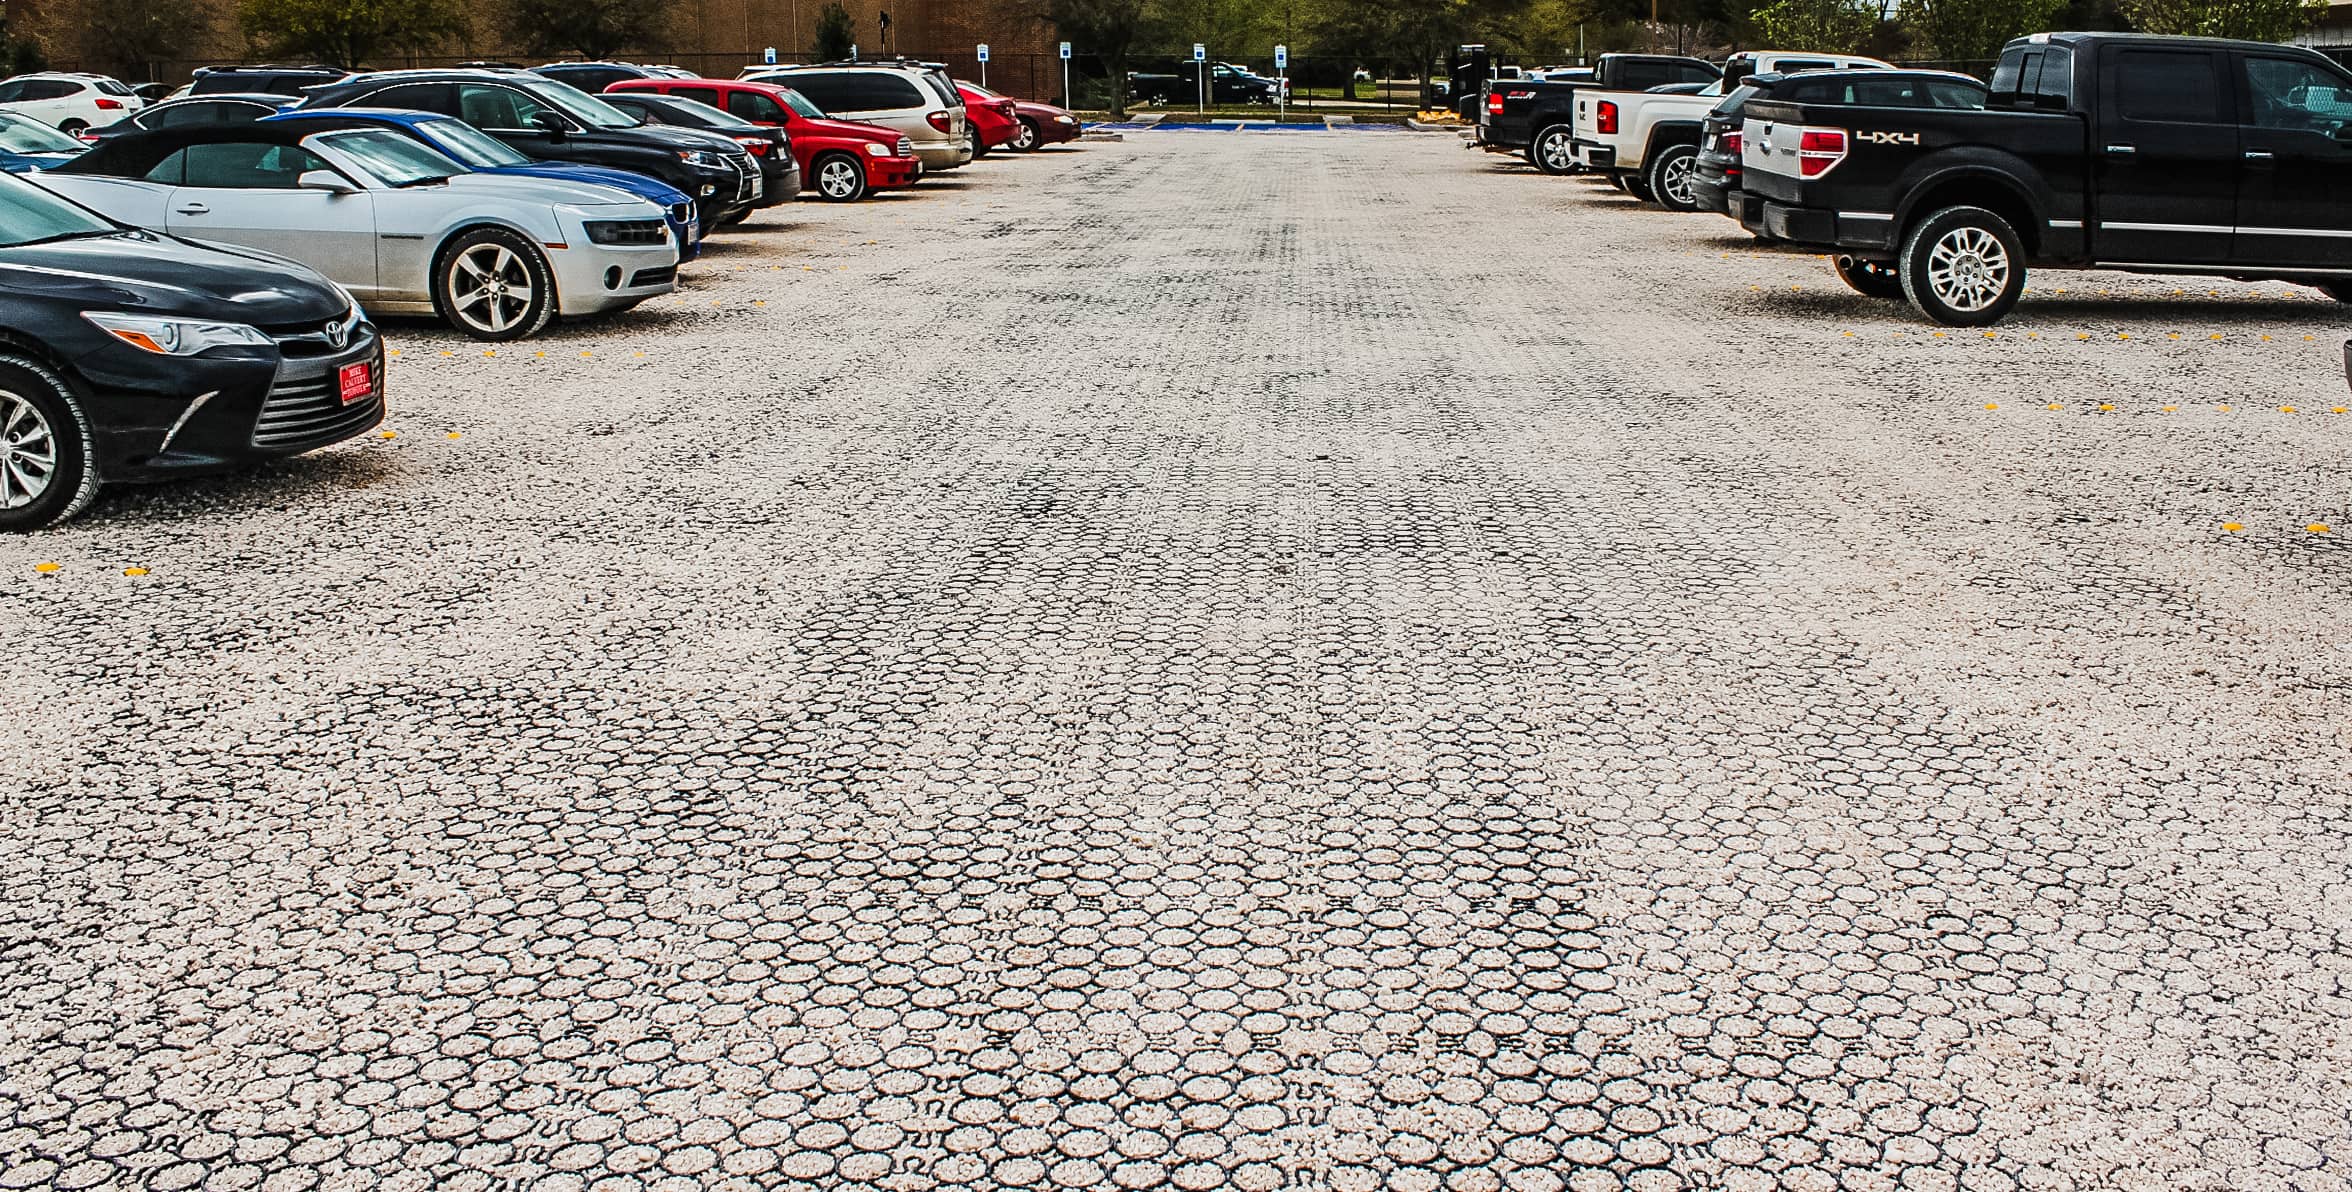
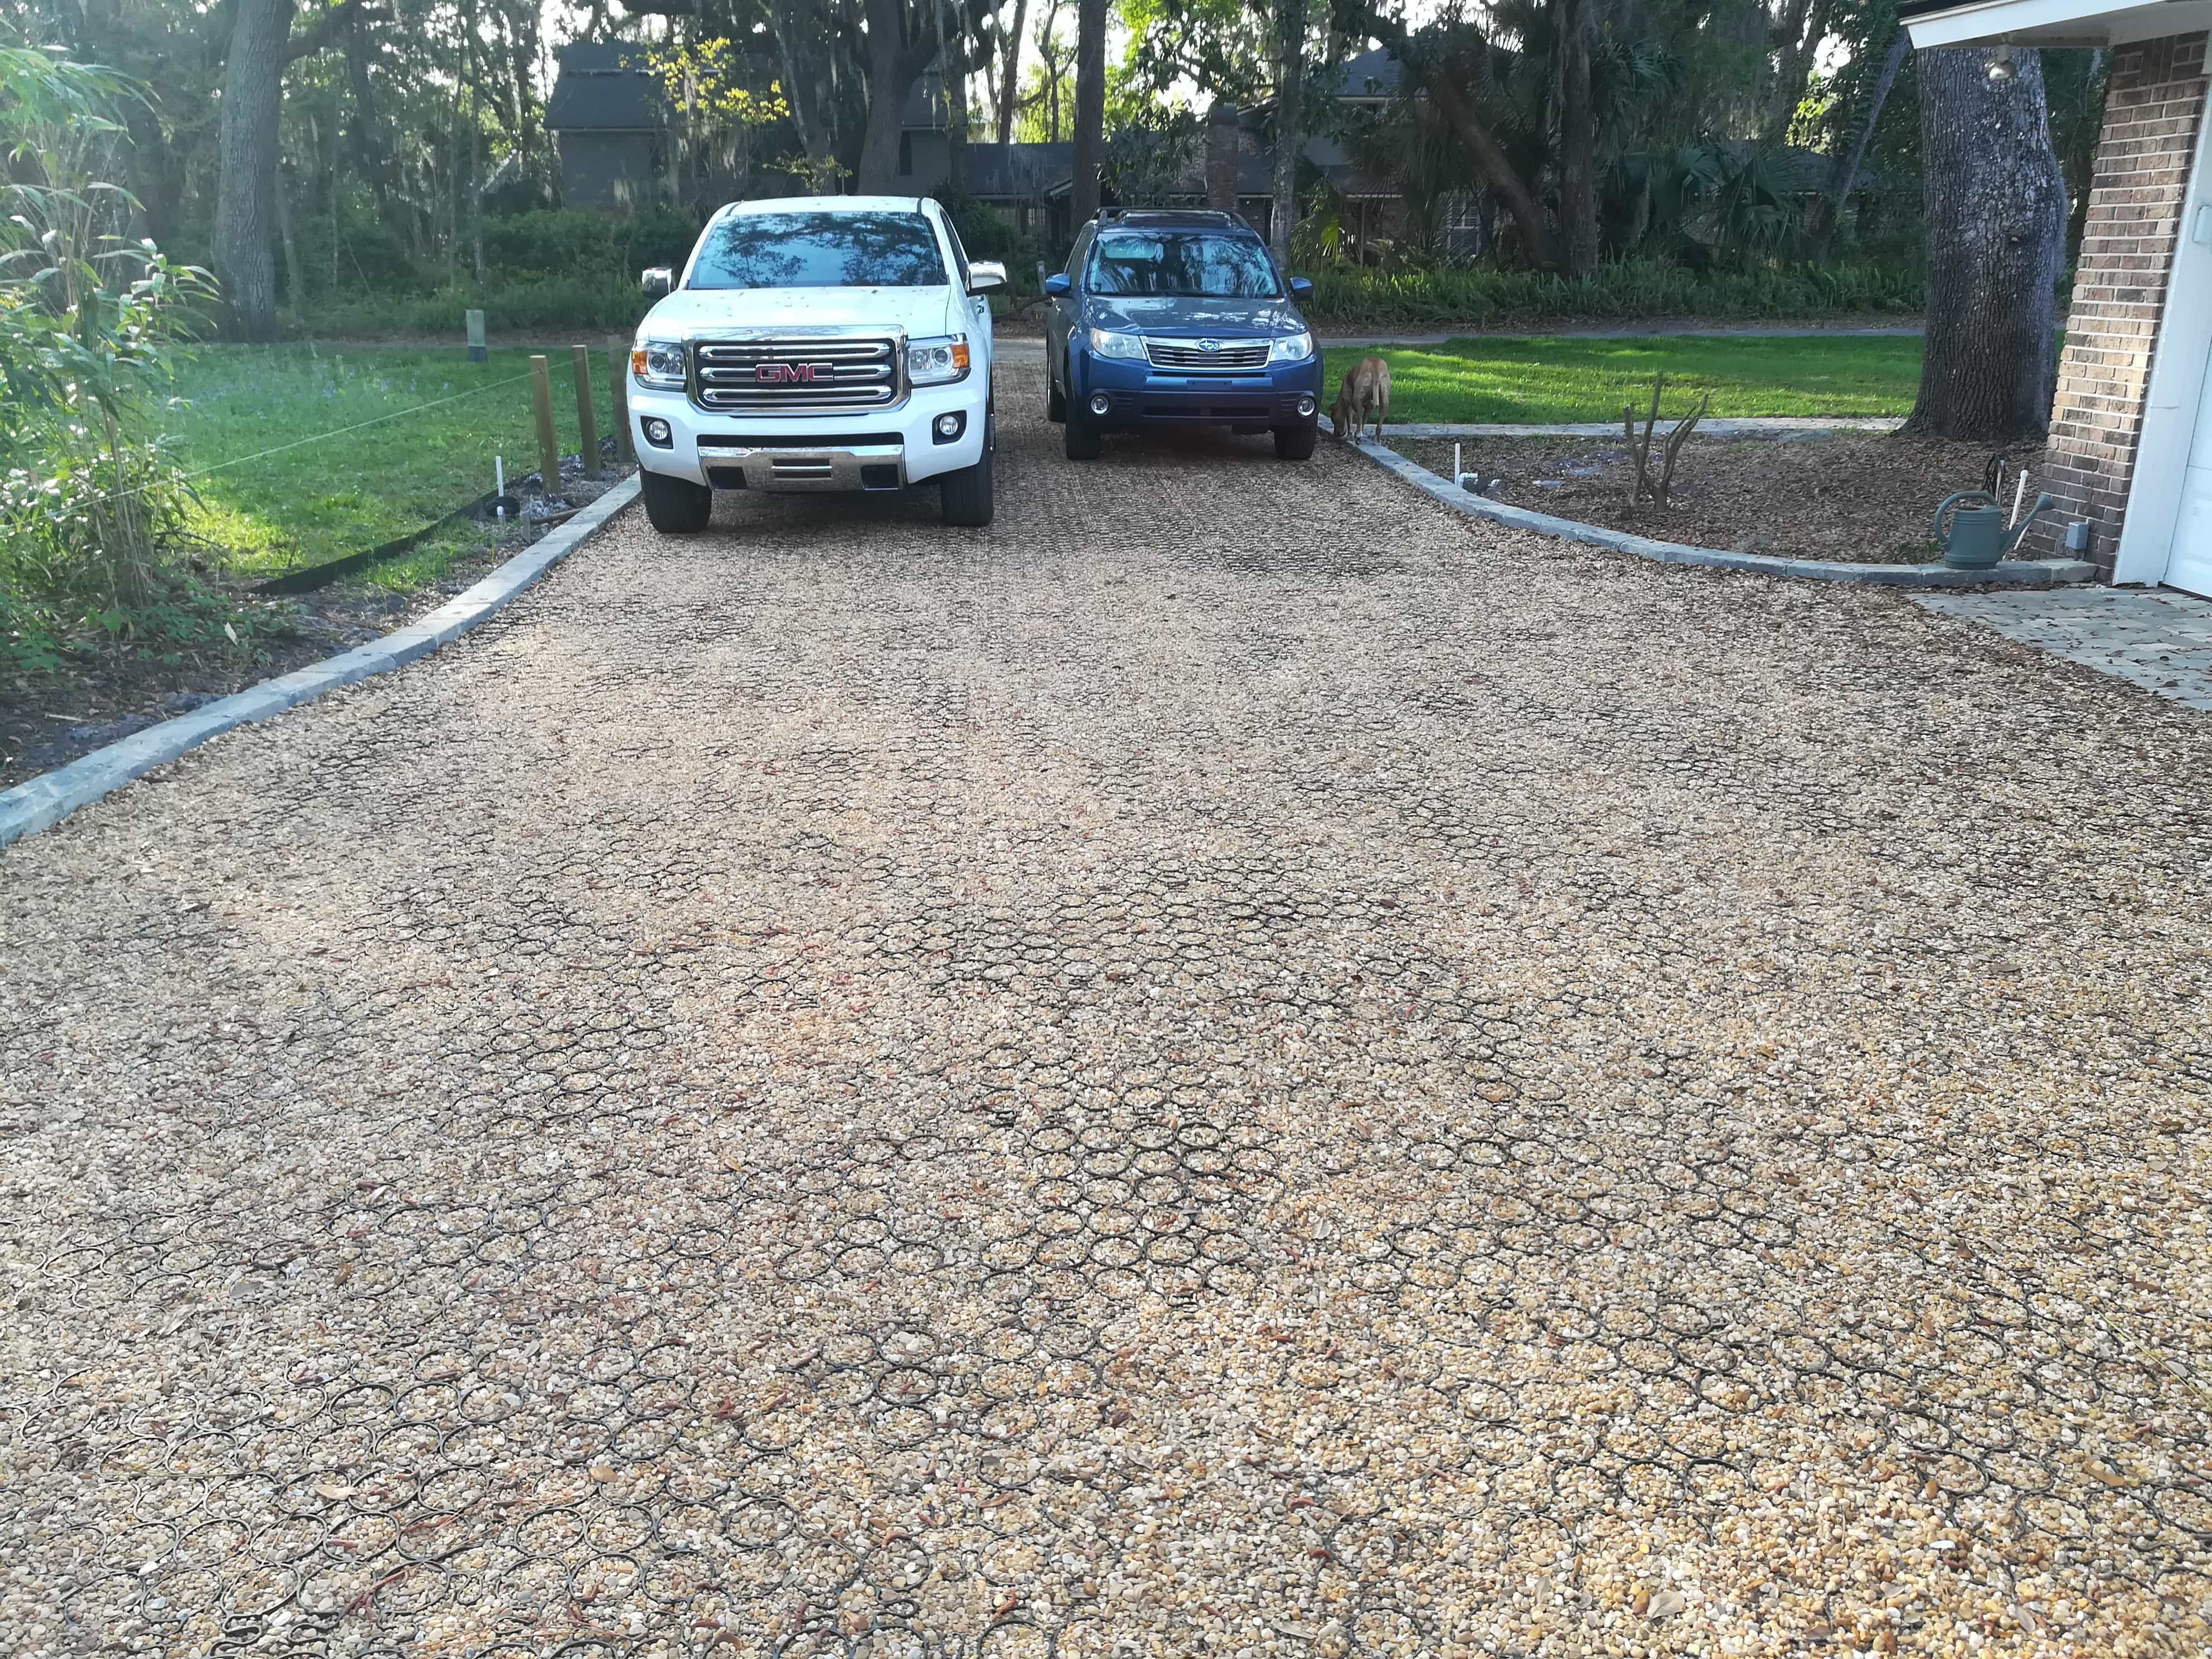
TRUEGRID’s Approach to Simplified Installation
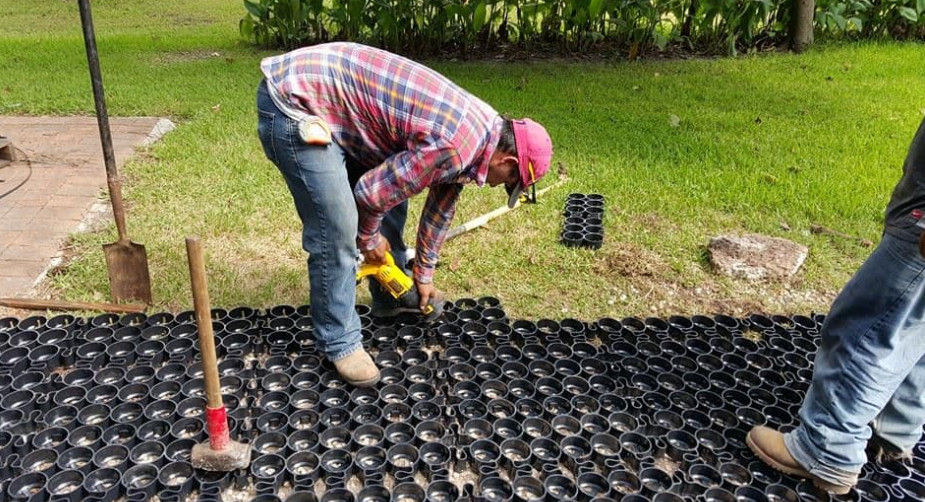
TRUEGRID permeable paver systems are one of the options that do both. Installers lock each grid into place over compacted angular, chipped drainage gravel. This removes the need for sand bedding and minimizes installation errors.
How Permeable Grids Improve Drainage Performance
These grids handle heavy loads and allow water to pass through quickly into the sub-base. Because they’re made from 100% recycled plastic, they also support sustainable design goals without sacrificing strength. Unlike traditional pavers, which can loosen or shift over time, interlocking grids create a unified surface that resists movement.
Compact, Fill, and Finish for a Complete Surface
With the base now stabilized and even, the grids are placed, locked, and filled. Fill TRUEGRID with a similar, but smaller angular, uniform stone. This creates a surface that stays level, allows water to pass through quickly, and requires little upkeep throughout the seasons.
Upgrade with TRUEGRID Permeable Patio Solutions Today
TRUEGRID permeable systems offer a streamlined installation process with reliable structural performance and efficient water management. This approach supports eco‑friendly design while preserving visual appeal and surface stability. Contact us today for more information.