How to Install a Gravel Pet Area using TRUEGRID®
Download Install Guide Watch Video Technical Specs Submit Your DesignBack to installation guides
Step 1
Before you begin: Materials & Equipment
Materials checklist
__ TRUEGRID ECO Pavers
__ Landscape fabric, such as "Scotts 25-Year Pro Fabric"
__ Fill rock: Clean, angular stone ½” (approximately half-inch size)
Equipment checklist
__ Shovel
__ Rake with hard tines (also called a bow rake)
__ Hand tamper or compacting tool
__ Landscape shears, pruning tool, handheld circular saw, or reciprocating saw (optional)
__ Push broom (optional)
Step 2
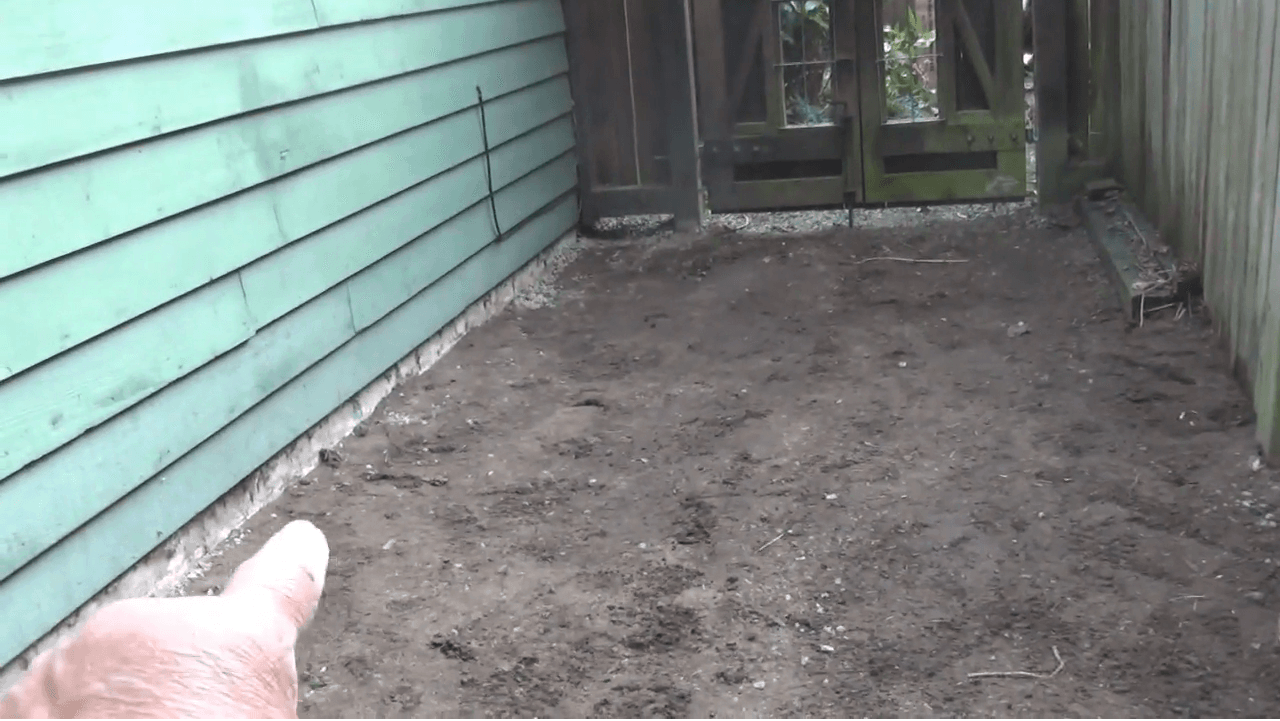
Before you begin: Site Prep
- Remove any debris from the installation area and make sure the ground is level and dry.
- Remove any grass or soil to a depth of one inch (1") to allow the installed TRUEGRID pavers to be even with the surrounding ground.
- Remove soil or grass so that the installed TRUEGRID pavers will be flush or slightly recessed below the surrounding ground.
- Make sure that any gates or doors opening into the pet area will be able to swing freely after TRUEGRID pavers are installed.
- You may choose to not remove soil if the following apply:
- you're installing your TRUEGRID pavers to cover an entire enclosed area with no grass
- the installed TRUEGRID pavers (one inch thick) can transition acceptably to the surrounding area
- Use a tamper or roller to smooth and compact the dirt where the TRUEGRID pavers will be installed.
Step 3
Installation steps
- Install landscape fabric on the smooth dirt according to the manufacturer’s instructions. Cover the entire area where you will install the TRUEGRID pavers.
- Note: The area must be relatively dry with no standing water prior to TRUEGRID® paver installation.
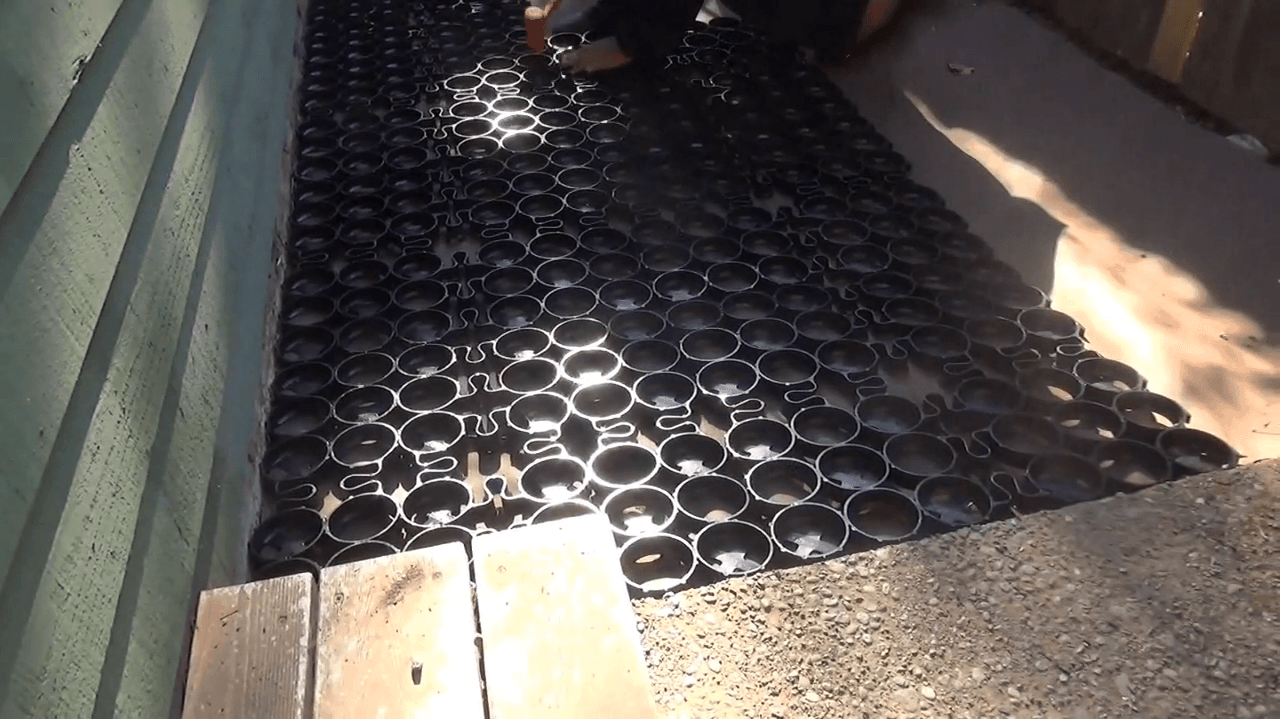
- Install TRUEGRID ECO pavers
- Place the first piece on the ground in the corner of your pet area with the male tabs on the TRUEGRID facing toward the interior the pet area.
- For the first piece of grid installed, the female tabs should be on the outer edge of the pet area. In other words, the female tabs should face the exterior of the pet area.
- The circular cells of the TRUEGRID should be open on the top. The black X-shaped pattern at the bottom of each circular cell should be installed touching the ground.
- Line up the next section of grid and connect next grid section.
- Continue connecting TRUEGRID paver sections until you have reached the far side of your pet area.
- Trim if needed
- If needed, cut the TRUEGRID pavers to fit your pet area dimensions.
- Snip the TRUEGRID pavers with landscaping shears or a pruning tool. Or cut with an electric saw such as a circular saw or reciprocating saw.
- You can also shape the TRUEGRIS to fit around trees or other shapes.
- Spread fill material into TRUEGRID ECO pavers
- Spread the fill rock over the TRUEGRID pavers so that the circular cells in each grid section are filled with rock.
- Use a rake, shovel, or push broom to evenly distribute the fill rock across all the TRUEGRID sections. You can use a wheelbarrow or vehicle on the empty TRUEGRID ECO pavers if that is easier to move the fill rock to the needed area.
- TRUEGRID recommends adding enough rock so that the rock is flush with the top of the TRUEGRID ECO pavers, without overfilling. If you prefer to completely cover the TRUEGRID pavers with fill rock, you may need to maintain or replace the loose overfill rock over time.
Step 4
Transitions
- You can transition from TRUEGRID pavers to grass, concrete, asphalt, or other surfaces.
- TRUEGRID pavers can transition directly to other surfaces, or you can also use plastic or metal landscape edging.
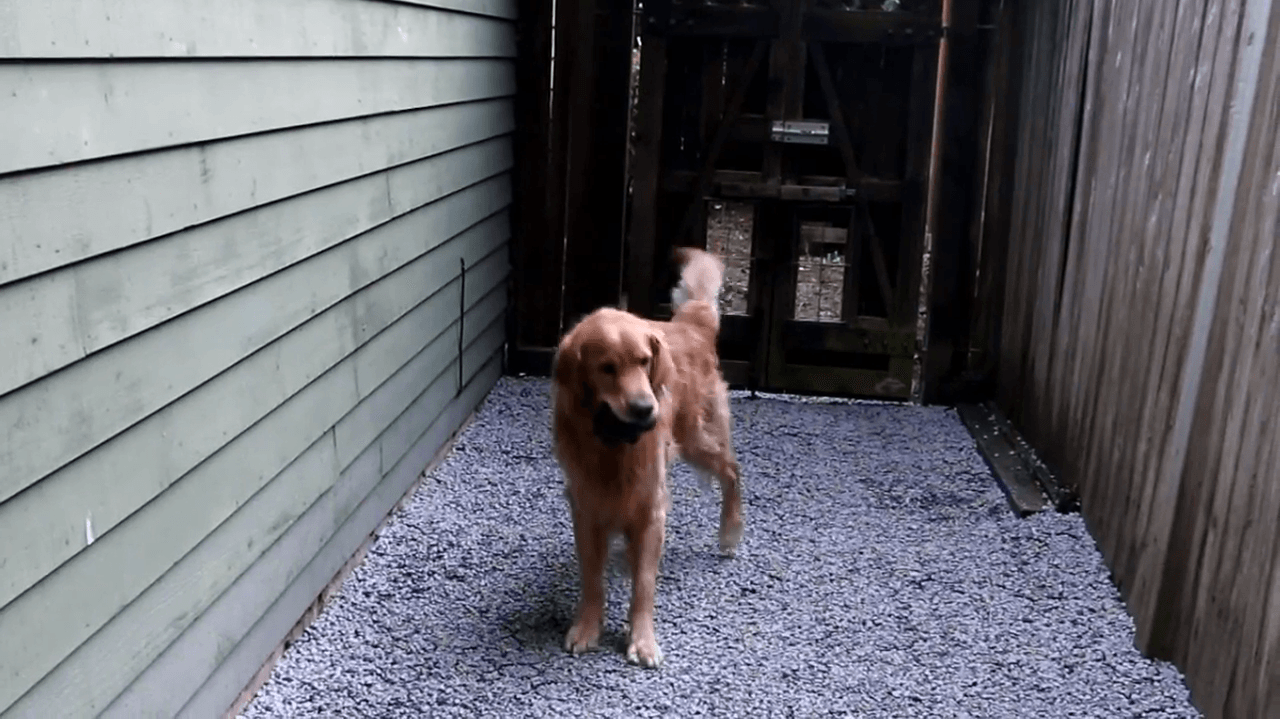
Completed Installation
TRUEGRID Specs
Technical Specifications
Looking for product specs, cut sheets and CSI documents? Visit our Technical Info page to download PDFs, BIM objects and CAD files for all of our products.
Submit your design
Need help with your project?
Work with our knowledgeable and experienced team. We're here to help you specify the right TRUEGRID product for your project and assist with your site specific design ...from surface to subgrade.